Friday, May 30, 2014

Birthday O.O.T.D.~!

Hey Guys~!

Today is my birthday, so happy birthday to me~~! My parents took me out for dinner, so this was what I wore to the restaurant. It was a really nice day, so we took all these photographs outside in our garden. I hope you all enjoy it, so let's start~~!


Dress - Ali & Kris / Cardigan - Valerie Bertinelli / Belt - Ali & Kris / Shoes - B.O.C.


Necklace - Forever21/ Ring - Forever21/ Bracelet - Gift

I hope you guys enjoyed this O.O.T.D. If you have any questions about the outfit or you have any ideas for O.O.T.D. inspirations, leave me a comment down below and I'll try to get back to you. Thank you guys so much for reading and for making my birthday so amazing with all your kindness and support. Tomorrow is my blog, Alluring Alyss Beauty's one year anniversary, and I really can't thank you all enough for me making it to this great milestone in my blogging career and I hope you see you all at my next post.

xo

Alyss


Tuesday, May 27, 2014

Candy Eye Makeup Tutorial~!

Hey Guys~!

I don't often wear colorful eyeshadow, but I thought I'd try and experiment a bit. This led me to create this look and I thought I'd show you guys how to recreate it. It's very bright and colorful, which is completely out of my comfort zone.


But I really like how it looks both in person and in photographs.   I use only drugstore products, so this will be easy to recreate. But if you want, use whatever you like. So let's start~~!

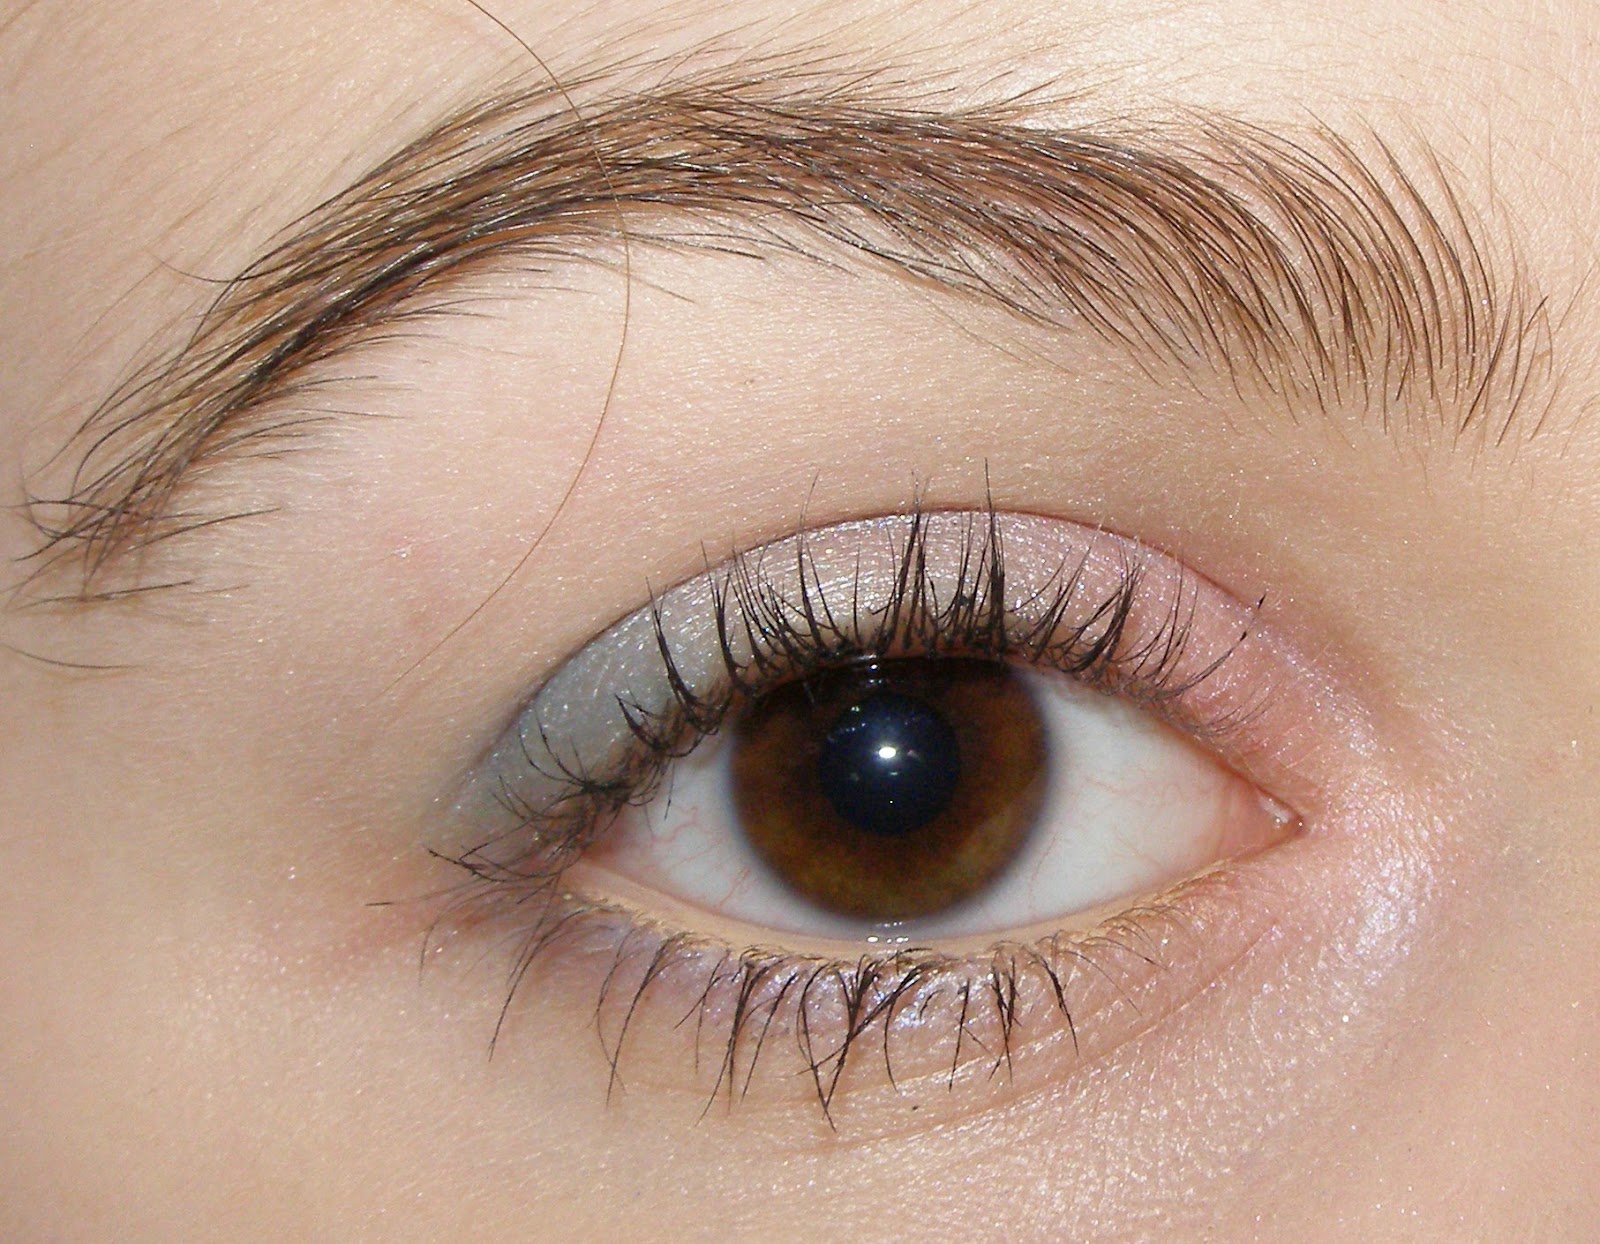
I already did my face makeup before starting this. So if you want a foundation routine post, leave a comment and I'll try to make one soon. Before anything else, I'm just going to lightly fill in my brows with the Milani Brow Fix Kit in the shade Light and a small angled brush. That way the eye brows can better frame the face and balance out the look.


First thing I do is prime my lids using the Maybelline Color Tattoo from the Metals collection in the shade Barely Branded. It's a shimmery champagne color and applying this will brighten the eyes and create a base to keep the eyeshadows looking vibrant.


For this look I will be mostly using the Wet and Wild palette in the shade #737A Poster Child.

The first shadow I'll be using is this light pink one on the top left side mixed with the warm pink underneath. With a flat eyeshadow brush, I patted this onto the inner part of my lid and blended it towards the center lid. But don't apply it onto the center. Also apply it in the inner corner and lightly along the inner lower lash line.


Next I mixed a bit of the green turquoise color with the lighter blue and applied it using the same brush on the outer lid. Like the pink, blend it so it fades into the champagne cream shadow, but don't cover it. Also apply it to the outer lower lash line and blend it into the pink.


To help transition the colors together, apply a champagne eyeshadow to the center lid and blend it into both the edges of the pink and blue. I used my L'Oreal Infallible Eyeshadow in the shade Iced Latte.

In order to further the transition, I used the light lilac color from my Maybelline Eyeshadow Duo in Lasting Lilac and applied it over the champagne. Also apply it on the lower lash line between the blue and pink.

Lastly for the eyeshadow, apply a soft cream or white eyeshadow to the brow bone. This will brighten the eyes and help the colors pop. I used the matte cream shade from this Revlon Custom Eyes Kit in #10 Sweet Innocence.

In order to brighten the eyes, apply either a nude or white eyeliner to the waterline. I used my Rimmel Scandaleyes liner in the color Nude. Then I tight lined my upper lash line using my Rimmel Scandaleyes liner in Black. If you want, you could line your upper lash line and wing it out, I just chose not to.

Now it's time to curl your lashes and apply mascara. I used my Covergirl Clump Crusher Mascara and I applied it to both my upper and lower lashes. And this next step is optional, but if you want you could apply false lashes too. If you do, apply eyeliner to your upper lash line over the lash band to help it blend into your natural lashes.


For the lips I just applied the Maybelline Baby Lips in Cherry Me. It adds a bright red tint without being to bold for the rest of the look.

And that's it, we're done~~!

I really like this look. It's super bright and colorful, which makes it perfect for spring and summer. If you want to try a more colorful eye look, I'd definitely try this out.


I hope you guys enjoyed this tutorial. If you want a full review on the Wet and Wild Palette, let me know in the comments. Thank you guys so much for reading and I'll see you at my next post.

xo

Alyss


Friday, May 23, 2014

Pastel Patchwork Nail Art~!

Hey Guys~!

While I was looking around on the internet, I saw these adorable patchwork nails on Pinterest.


I thought they were super cute and easy, so I decided to show you guys how to recreate your own patchwork nails. Because it's spring, I decided to use pastel colors, but you can use whatever you want.

You'll Need. . .
Base Coat
Pastel Nail Polishes
{Margarita Senorita by Confetti,  Candylicious by Wet and Wild, In a Lily Bit by China Glaze, Bikini So Teeny by Essie, and Mint Sorbet by Sally Hansen}
White Nail Polish
Black Nail Polish
Clear Top Coat
Nail Art Brush
Dotting Tool/Toothpick

So let's start~~!

First apply your base coat or clear nail polish and let that dry. This will strengthen your nails and prevent the polishes from staining your nails. Afterward apply 2-3 coats of your base color so it's opaque and wait for it to dry before continuing.


Now we'll start with the patches. Take whatever color you like and apply it in a square shape to a section of your nail. You can use either a nail art brush, or the brush that comes with the polish; which is what I did. Press the brush down to create a square shape on each nail. If you have really long nails, you can do more than one patch.


Once all the patches dry, you can choose to keep them as they are, or add designs to them. I kept mine simple and just made stripes, with a nail art brush and polka dots, with my dotting tool, but feel free to do whatever you like. 


Lastly you need to outline the patches and draw the stitch marks. To do this I used a black polish and a nail art brush. Carefully outline the patches and then add some stitch marks like sew. Make sure it is all completely dry before apply a clear top coat to keep your design lastly long and add a nice shine.


And now we're finished~~!


I hope you guys enjoyed this nail art design. If you have something you want me to make nail art for, leave me a comment and I'll try to create that. Also if you do recreate this nail art, post a picture of it on my Facebook Page or send it to me as a tweet. Thank you guys so much for reading and I'll see you at my next post.

xo

Alyss


image


Monday, May 19, 2014

Empties/Products I've Used Up #2~!

Hey Guys~!

Today I'll be showing you what products I've used up recently. I've done one of these empties posts before, so if you haven't seen that, go check it out. So let's start~!

Makeup


First thing I've used up is my Covergirl Outlast Foundation. This is currently one of my favorite foundations because of it's staying power and the high coverage it provides. I've already repurchased it and it is currently my everyday foundation.

Next makeup product I've finished is my Elf Eyelid Primer. I really like this because it covers up my veins and any discoloration on my eyelids. Also it helps my shadows last longer. I've repurchased this so many times and I really like it.

My last makeup product I'll be showing you is my Maybelline The Rocket Mascara. This is one of my favorite mascaras because it makes my lashes thick and gives them a lot of volume. I do plan on repurchasing it soon.

imageimage

Skin Care

I talked about these in one of my favorites post, they are Simple Cleansing Facial Wipes. I use them daily to take off my makeup and I really like them. I used up my first pack, but I have two more since I bought them in a set.

I showed this in my last empties post, but I used it up again. This is the Clean and Clear Hydrating Gel Moisturizer. I use this every morning before I put on my makeup. It acts as a great base and absorbs quickly into the skin.

image image

Hair Care

This is one of my favorite hair products and recently I ran out of my first bottle. It is the Not Your Mother's Kinky Moves Hair Cream and I love it. It smells like grapes and I use it to create waves in my hair without heat. 

So this is my empties post. I'll try to do another one of these in a few months so I'll have more to talk about. Thank you for reading and I'll see you at my next post.

xo

Alyss

Thursday, May 15, 2014

Rimmel Scandaleyes Liners Review~!

Hey Guys~!

One of the products I've loved and talked about for months is the Rimmel Scandaleyes Liners. Since I've included them in multiple tutorials and favorites posts, I thought I'd finally review them for you guys. So let's start~~!


Packaging for these liners is pretty typical. It's a kohl crayon liner, which is nice but I prefer retractable and self sharpening eyeliners. I've also noticed that when I sharpen these liners, it's slightly difficult to do.

In the line there are ten shades, mostly neutrals but a few brighter colors. The one color I wish Rimmel made is a white scandaleyes liner, since I haven't found a good white eyeliner.

The ones I have are all neutral shades. They are #1 Black, #4 Taupe, and #5 Nude.

Here are swatches of all of them. . .


#1 Black is a deep black with no shimmer. #4 Taupe is a neutral toned taupe, so it works on many different skin tones. #5 Nude is a bright peachy color which is great in the waterline for brightening the eyes. 

The formulation of these eyeliners is great. They're super creamy and once they set, they last a long time. Also they're waterproof. Here's a picture of the same swatches run under some water. . .


But if you blend them before they set, they can make a great smoky eye. I use mine on a daily basis. The black one I use to tight line my upper lash line, the taupe one I use to line my lower lash line and lastly I use the nude one on my water line to brighten my eyes. 

For the quality, these liners are completely worth it. They cost around $4 at my local drugstore and when there's a sale on Rimmel, they're even cheaper.

Packaging: ♥ ♥ ♥ ♥
Formulation: ♥ ♥ ♥ ♥ ♥
Pigmentation: ♥ ♥ ♥ ♥ ♥
Waterproof: ♥ ♥ ♥ ♥ ♥
Quality: ♥ ♥ ♥ ♥ ♥
Price: ♥ ♥ ♥ ♥ ♥
Overall: ♥ ♥ ♥ ♥ ♥

These are some of the best eyeliners I've ever tried, even compared to my high end and more expensive drugstore eyeliners.  They have a great formula and are super waterproof. I really want to try more colors from the line, especially some of the brighter ones.

So that was my review on the Rimmel Scandaleyes Liners. I hope you guys enjoyed it and found it really helpful. If you guys want me to compare these liners to other eyeliners, leave me a comment suggesting a brand. I was thinking about comparing the nude one to the NYX Wonder Pencil, if that sounds interesting, leave a comment telling me so. Thank you guys so much for reading and I'll see you at my next post.

xo

Alyss


Sunday, May 11, 2014

Naked Basics Palette Review~!

Hey Guys~!

In my recent Ulta haul, {click here to check it out}, I showed you guys the Urban Decay Naked Basics Palette. I've been playing around with it for the past few weeks, so now I'll be reviewing it for you guys. Let's start~~!

The packaging for this palette is similar to the Naked2 and Naked3 from Urban Decay. It also is in a metal tin. What I absolutely love about this palette is how large the mirror is. It's great not just for doing eye makeup, but for the rest of it too.


It comes with six neutral eyeshadows. They are Venus, a shimmery cream, Foxy, a warm yellow toned cream, W.O.S., a light peachy cream, Naked 2, a light brown, Faint, a darker brown, and Crave, a black. Most of them have a matte finish, except for Venus.

Here are swatches of them. . .


The formulation for this shadows, like all Urban Decay shadows, is amazing. They're super pigmented and creamy. The one eyeshadow that doesn't quite cut it for me is the shade Foxy. When I apply it, it doesn't really show up and to me it's a strange shade that I don't find myself using too often.

I got this palette mainly for traveling purposes. I love Urban Decay eyeshadows but I'm always scared to take either my Naked1 or Naked3 on a plane with me and risk it getting damaged. However because of the small size of this palette, it's safer for travel. Also the colors are great, everyday colors which as super versatile.

Price wise I do think it's worth it. It's great quality and very durable. You may be thinking that for the $28 it cost me, I could've bought drugstore shadows, but I personally love Urban Decay more than any drugstore brand for eyeshadow. I do agree that it could've been less expensive though.

Packaging:
Pigmentation:
Formulation:
Quality:
Price:
Overall:

If you couldn't tell yet, I love this palette. In my opinion, I think it's as good as the other Naked Palettes. However I do wish there was a slight amount of color variation. Some of the shades aren't ones I use as often as the others and kind of seem similar. Besides that I think it's a great palette for traveling. 

I hope you guys enjoyed this review. If you want me to create an eyeshadow look with this, leave me a comment and I'll try to come up with something. Thank you guys so much for reading and I'll see you at my next post.

xo

Alyss